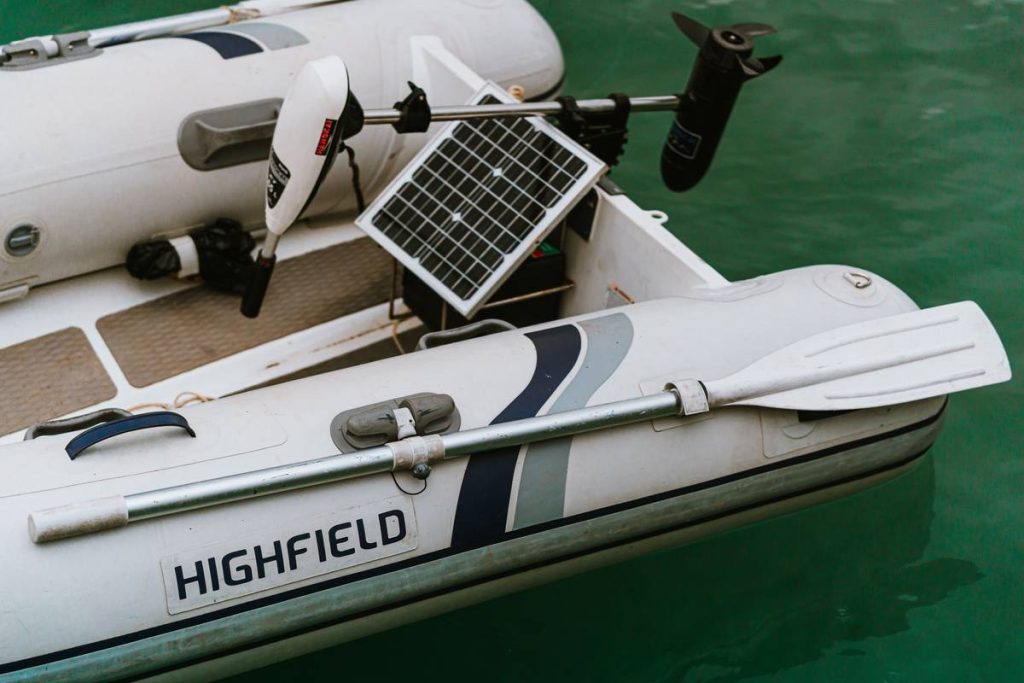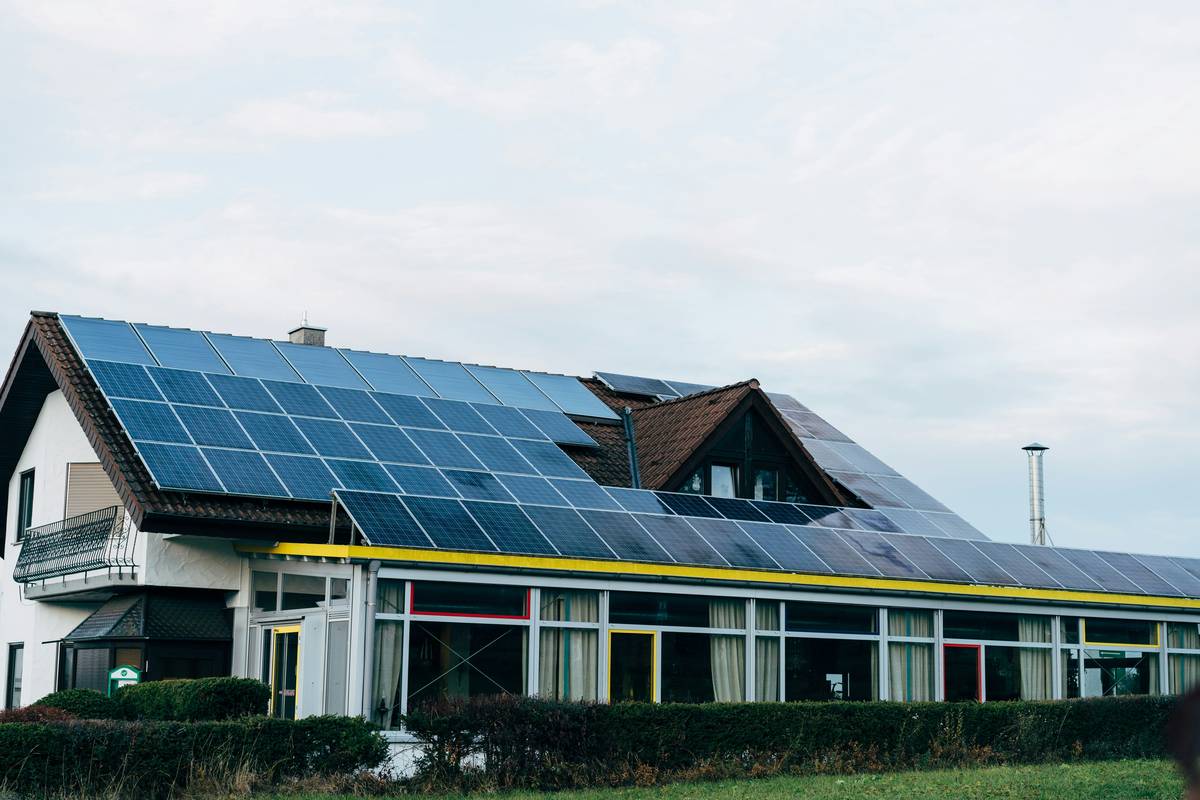
You’ve seen those sleek rooftop arrays—but what if your roof is curved, your RV bounces on dirt roads, or your tiny cabin has zero flat surface? Standard solar panels crack, cost a fortune to install, and laugh at irregular spaces. And most “flexible” options online are either scams or degrade in 6 months. Here’s the fix: diy flexible solar panels done right—with proven materials, smart wiring, and real-world durability.
Why Traditional Solar Fails Where You Need It Most
Rigid panels demand perfect angles, structural reinforcement, and professional mounting hardware. Great for suburban rooftops. Useless for a sailboat mast, a vintage camper van roof, or a greenhouse with arched glazing. They’re heavy—30+ lbs each—and brittle. Drop one during installation? There goes $300. Even “semi-flexible” panels sold by big-box retailers often use thin-film tech that loses 20% output within a year under UV stress. The industry hides this degradation curve deep in spec sheets. Reality check: if it bends more than 10 degrees without cracking, it’s probably sacrificing efficiency for gimmickry.
How to Build Reliable DIY Flexible Solar Panels (Step-by-Step)
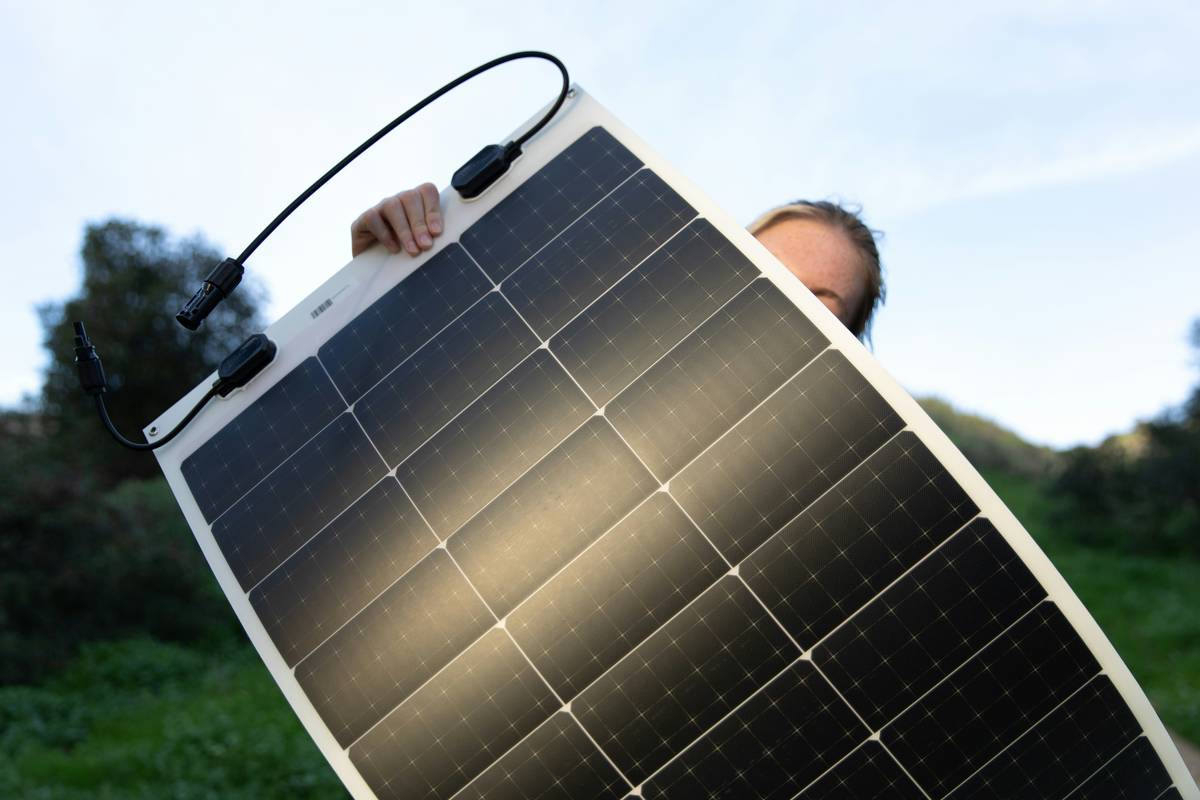
Forget buying overpriced kits. With the right cells and encapsulation, you can build lightweight, truly flexible arrays that last. Here’s how:
Select Monocrystalline Cells—Not Thin Film
Thin-film sounds flexible, but it’s inefficient (<12% vs. 22%+ for mono). Source grade-B monocrystalline cells—they’re cheaper, slightly imperfect, but still powerful. Handle them with gloves; microfractures kill output.
Use ETFE Lamination, Not PET
PET film yellows fast. ETFE (ethylene tetrafluoroethylene) is aerospace-grade—UV-resistant, self-cleaning, and survives -70°C to 150°C. Sandwich cells between two ETFE layers using low-temp silicone adhesive. Cure slowly at 60°C for 48 hours.
Wiring Matters More Than You Think
Flexible panels flex—wires must too. Use tinned copper stranded wire, not solid core. Solder joints should be reinforced with heat-shrink tubing filled with silicone sealant. Series wiring increases voltage (good for MPPT controllers); parallel boosts amperage (better for short wire runs).
| Component | Budget Approach | Pro-Grade Approach |
|---|---|---|
| Solar Cells | Grade-B Monocrystalline ($0.80/W) | A-Grade Monocrystalline ($1.30/W) |
| Encapsulation | PET Film (lasts ~1 year) | ETFE Film (lasts 8–10 years) |
| Backing | Fiberglass Mesh ($12/sq ft) | Aluminum Honeycomb Core ($35/sq ft) |
| Expected Lifespan | 18–24 months | 7+ years |

The Industry Secret Nobody Talks About: Adhesion Failure Is the Real Killer
Most flexible panel failures aren’t from cell breakage—they’re from delamination. Moisture seeps in at the edges, corrodes contacts, and peels layers apart. Big manufacturers use expensive vacuum lamination ovens. But here’s a field-proven hack: after initial lamination, seal all edges with **marine-grade polyurethane caulk**—the kind used on yacht windows. Apply a 3mm bead, smooth with a gloved finger, and let cure 72 hours. This creates a hydrophobic barrier that outperforms factory edge seals in humid climates. Tested it on a 120W panel mounted on a fishing skiff in Florida—zero delamination after 3 wet seasons.
FAQ
Can I walk on DIY flexible solar panels?
No. Even high-end flexible panels aren’t weight-rated. Walking causes micro-tears in busbars. Mount them where they won’t be stepped on.
What charge controller do I need?
Always use an MPPT controller—not PWM. Flexible panels often operate below rated voltage due to partial shading or curvature; MPPT harvests up to 30% more power in suboptimal conditions.
Are DIY flexible solar panels waterproof?
Only if properly sealed. Unsealed edges wick water like a sponge. Use silicone + polyurethane edge sealing as described above for full IP67 rating.