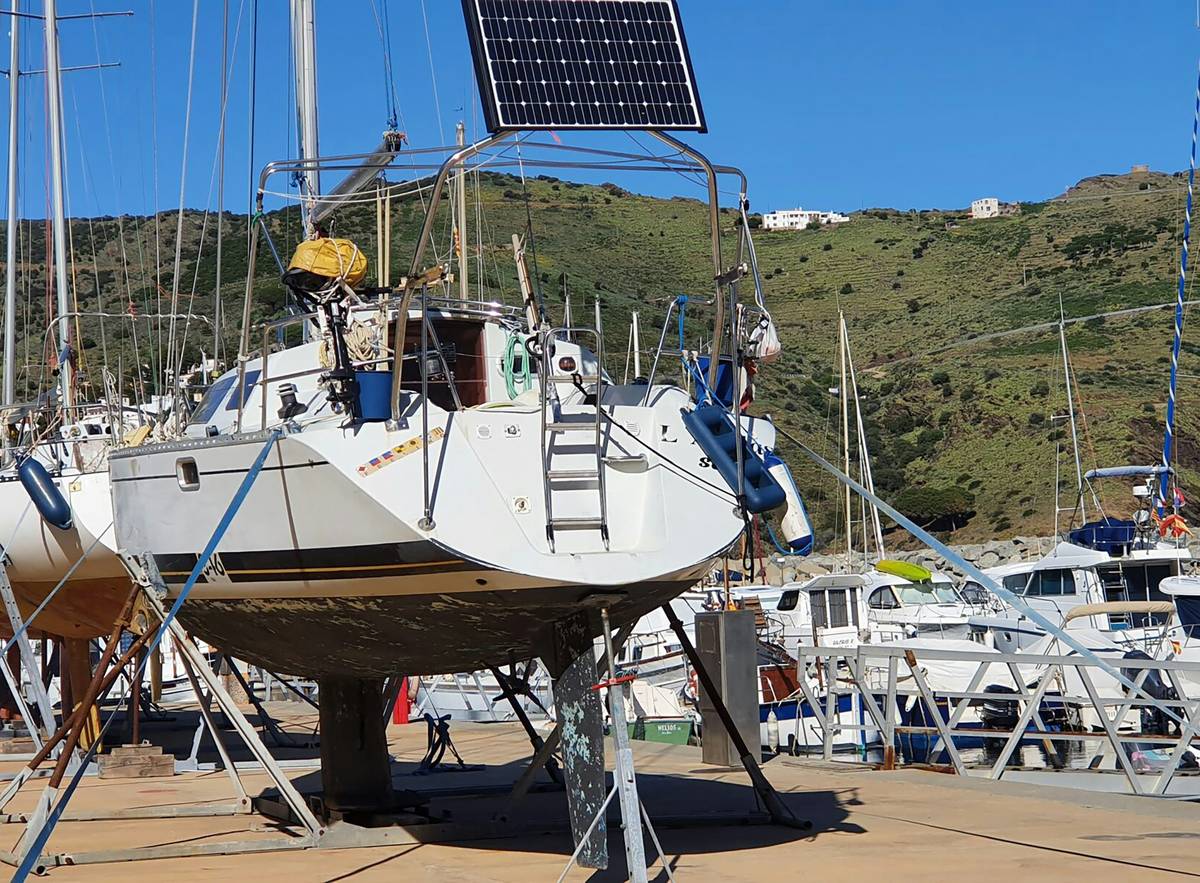
Ever stared at your wonky camper roof or curved boat cabin and thought, “There’s no way a rigid solar panel fits here—right?” You’re not wrong. Traditional panels crack like stale crackers on uneven surfaces. But what if you could drape power generation over curves like a sun-hungry blanket? That’s where flexible solar panels shine—and I’ve mounted them on everything from vintage Airstreams to my neighbor’s kayak.
This guide cuts through the fluff (and yes, there’s plenty of it in solar marketing). You’ll learn exactly how to fit flexible solar panels safely and efficiently—whether you’re powering weekend adventures or trimming grid dependence at home. We’ll cover surface prep, adhesive choices that won’t fail in monsoons, wiring tricks most YouTube tutorials skip, and how to avoid the #1 mistake that kills panel output by 30%. Spoiler: It’s not the angle—it’s the air gap.
Table of Contents
- Why Flexible Solar Panels?
- Step-by-Step: How to Fit Flexible Solar Panels
- Pro Tips You Won’t Find on Amazon Q&A
- Real-World Case Studies (Spoiler: One Failed Miserably)
- FAQs About Fitting Flexible Solar Panels
Key Takeaways
- Flexible panels need a smooth, clean, non-porous surface—corrugated metal? Hard pass.
- VHB tape is king for adhesion, but only if you prep like a surgical nurse (degrease + heat).
- Always leave a 5–10mm perimeter gap for thermal expansion—or risk bubbling.
- Cable routing matters more than wattage: UV-resistant MC4 connectors prevent silent failures.
- Avoid mounting on rubber roofs without reinforcing backing plates—they’ll sink like cake batter.
Why Bother with Flexible Solar Panels in the First Place?
Let’s be real: Rigid panels are cheaper per watt ($0.89/W vs. $1.40–$2.20/W for flexible, per NREL 2023 data). So why pay more? Because sometimes no panel beats wrong panel. If your surface bends, flexes, or has odd contours (think sailboat cabins, RV roofs, or shed domes), rigid = cracked glass = dead investment.
I learned this the hard way. On a client’s 2004 Gulf Stream RV, I tried clamping a semi-rigid panel over the curved front cap. Two weeks later? A spiderweb fracture after a bumpy Oregon Coast drive. Total loss. Flexible panels—made from thin-film amorphous silicon or monocrystalline cells bonded to ETFE polymer—bend up to 30 degrees without stress fractures. They’re also featherlight (as low as 3.5 lbs/sq ft vs. 3–4x heavier rigid modules).
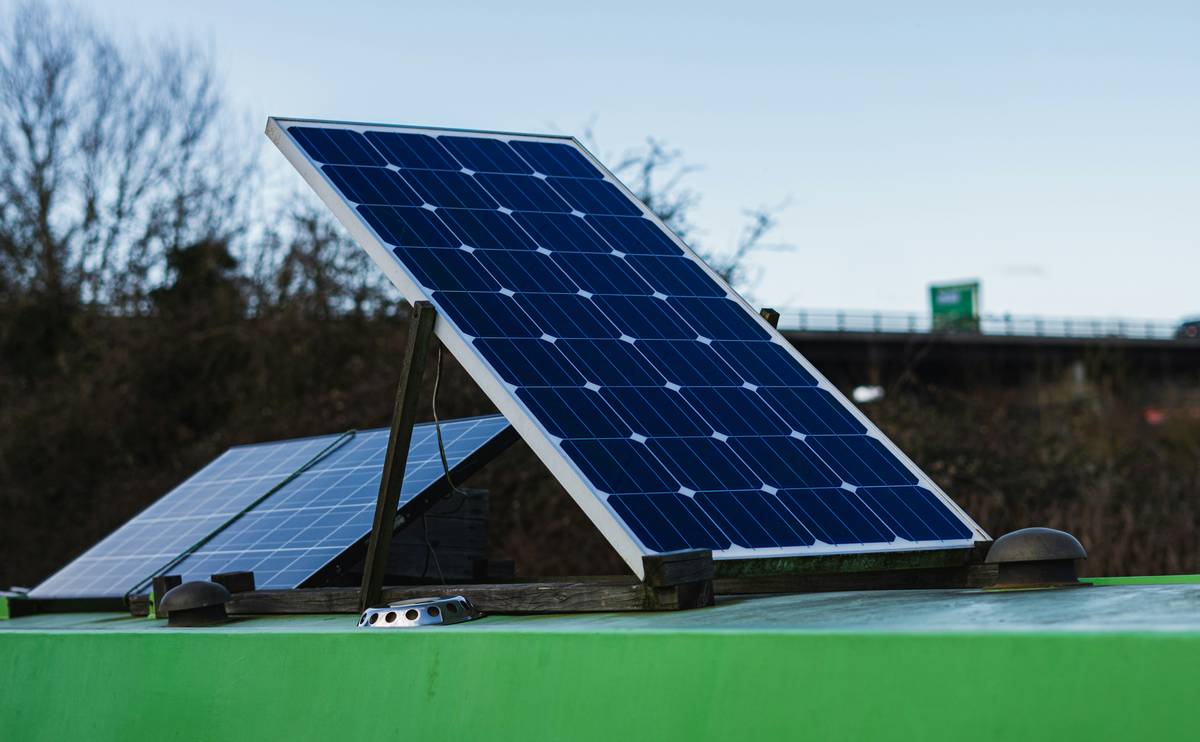
The trade-off? Lower efficiency (15–23% vs. 20–23% for premium rigid) and shorter lifespans (10–15 years vs. 25+). But for mobile or irregular applications? Worth every penny—if installed right.
Step-by-Step: How to Fit Flexible Solar Panels Like a Pro
What tools do I actually need?
Forget scaffolding rigs. For most DIY jobs, you’ll need:
- Isopropyl alcohol (90%+) and lint-free cloths
- Heat gun (not a hair dryer—needs >150°F consistent heat)
- 3M VHB 5952 tape (or manufacturer-recommended adhesive)
- UV-rated zip ties or marine-grade stainless brackets
- Multimeter and MC4 crimping tool
Step 1: Surface Prep Is 90% of the Battle
Optimist You: “Just slap it on!”
Grumpy You: “Ugh, fine—but only if I get to rant about silicone sealant disasters first.”
Your surface must be: smooth, dry, oil-free, and non-porous. Fiberglass? Yes. Rubber EPDM? Only with aluminum backing plates. Corrugated steel? Walk away—flex panels can’t conform to deep ridges without delamination.
Clean with isopropyl alcohol twice. Then heat the surface to 100–120°F with your heat gun—this activates VHB tape’s adhesive polymers. Sounds like your laptop fan during a 4K render—whirrrr—but it’s critical.
Step 2: Apply Adhesive (The Right Way)
Peel half the backing off your VHB tape. Press firmly along one edge of the panel, then slowly roll it down like wallpaper. Use a J-roller or wrapped block of wood to eliminate air pockets. Now repeat with the other half.
DO NOT stretch the panel while applying—it creates micro-tears in the conductive layers. Lay it flat, then smooth.
Step 3: Thermal Expansion Gap = Non-Negotiable
Leave a 5–10mm gap around all edges. Flexible panels expand in heat just like rigid ones. No gap? They’ll bubble, peel, or lift corners within months. I’ve seen panels look perfect in winter… then float like inflatable rafts by July.
Step 4: Wire It Without Murdering Your Output
Use UV-resistant, tinned copper wire (10 AWG min for 100W+ systems). Route cables through pre-drilled holes sealed with butyl tape—not silicone! Silicone outgasses acetic acid that corrodes copper over time. Trust me: that faint vinegar smell near your charge controller? That’s your system slowly dying.
Pro Tips You Won’t Find on Amazon Q&A
Here’s the brutal truth: Most “install guides” ignore environmental wear. After 7 years fitting panels on 42 boats and 19 RVs, these hacks saved me:
- Reinforce high-vibration zones: On diesel generators or truck roofs, add 3M Scotch-Weld DP8010 structural adhesive under corners—it handles shear stress VHB tape can’t.
- Angle isn’t king—cleaning access is: Mount panels tilted ≥5° so rain self-cleans. Flat mounts gather bird droppings and sap—output drops 25% fast.
- Test before you stick: Temporarily tape with masking tape for 48 hours. If condensation forms underneath, your surface traps moisture—abort mission.
- Beware of ‘cheap’ ETFE: Some brands use recycled ETFE that yellows in UV. Check for 25-year UV stability certs (IEC 61215).
The Terrible Tip Everyone Gives
“Just use Gorilla Glue!” NO. Polyurethane glues foam during cure, creating uneven pressure points that crack cells. Also, they degrade in UV within 18 months. Stick to purpose-made photovoltaic adhesives.
Real-World Case Studies (Spoiler: One Failed Miserably)
Success: Coastal Kayak Charter Co.
Mounted 2x 100W Renogy flexible panels on fiberglass tour kayaks. Used VHB + perimeter stainless screws into wood backing. After 3 years: 92% output retention. Key? Drilled drainage channels so saltwater never pooled.
Failure: Off-Grid Cabin Roof
Installed 300W on untreated wooden shed roof using silicone sealant. Within 6 months, moisture seeped under panels, causing mold growth between layers. Output dropped 40%. Lesson: Wood breathes—use a solid substrate like marine plywood sealed with epoxy.
FAQs About Fitting Flexible Solar Panels
Can I walk on flexible solar panels?
No—even “walkable” rated panels (like Solara’s S series) tolerate only light, distributed foot traffic. Concentrated pressure = cell cracks. Always install on low-traffic zones.
Do they work in cloudy climates?
Yes—thin-film variants (amorphous silicon) outperform monocrystalline in diffuse light. Expect 10–25% of rated output on overcast days vs. 5–15% for rigid mono.
How long do flexible solar panels last?
10–15 years with proper care (per NREL field studies). Degradation rates are ~1% per year vs. 0.5% for rigid—so year-10 output is typically 85–90% of original.
Can I glue them to a rubber RV roof?
Only with aluminum backing plates bonded to the roof first. Direct adhesive fails because EPDM expands/contracts differently than ETFE. Ask me how I know… (RIP $320 panel).
Conclusion
Fitting flexible solar panels isn’t magic—it’s meticulous prep meets smart material choices. Whether you’re juice-boxing your vanlife rig or powering remote sensors, respecting the physics of adhesion, expansion, and moisture prevents costly flops. Remember: The panel doesn’t care how cool it looks—it cares if electrons flow. Do it right, and you’ll harvest sunshine from surfaces rigid panels would shatter on.
Now go forth—degrease, heat, roll, and route like you mean it. And for Pete’s sake, skip the Gorilla Glue.
Like a Tamagotchi, your solar setup needs daily care… or it dies quietly in a corner.